
As important as smart locks have been to the vacation rental, smart thermostats may play an even more important role in helping hosts manage the operational expenses associated with a short-term rental business.
Depending on where the property is located in the world, heating or cooling unoccupied units can result in significant costs and cut substantially into rental revenues if left unmanaged. In many cases, hosts are left to rely on their cleaning service crews to help manage temperature in-between reservations, but this is not reliable and doesn't account for the scenarios where pre-cooling/heating a unit just before a guest arrives would deliver the best reservation experience.
If you run a property management company or short-term rental business, switching out your old thermostat for a Honeywell smart thermostat can yield significant benefits to your bottom line... but only if you can take advantage of its most useful features.
If you are a developer, keep reading. If you prefer to talk to a person about your business needs, click the button below or follow this link to schedule a half-hour discovery call.

To take full advantage of the benefits of smart thermostats you’ll need to be able to integrate with them. Yonomi makes this process easy by providing a GraphQL-based API to perform the most important smart thermostat functions with Honeywell smart thermostats, including the most popular models such as the Honeywell T6 Pro Smart Thermostat, Honeywell T9 Smart Thermostat, Honeywell T10 Pro Smart Thermostat and the Honeywell Smart Color Thermostat. Using Yonomi's API you can automatically manage Honeywell smart thermostat settings for all your rental units, including:
- changing thermostat mode to off when guests check out
- pre-climatizing a unit just before guest arrival
- monitoring thermostat setpoint temperature throughout a reservation
Note: Yonomi supports all T-model thermostats from Honeywell on Yonomi Platform. If you're looking to connect to an older model such as the Round thermostat, contact us for access to Yonomi One - a different platform focused on legacy devices.
How to Integrate a Honeywell Smart Thermostat
- Create a Yonomi Developer Portal Account
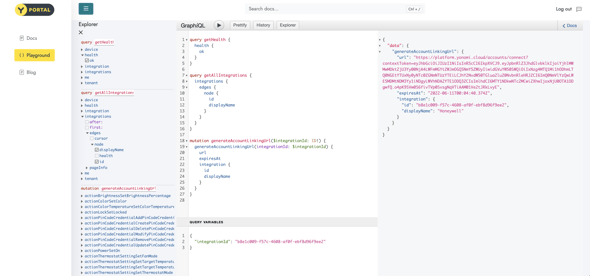
To get started, navigate to the Yonomi Developer Playground and sign up for a free developer account. The playground provides a web-based development environment for interacting with the Yonomi Platform. Click on Sign-up at the bottom of the login screen if you don't have an account.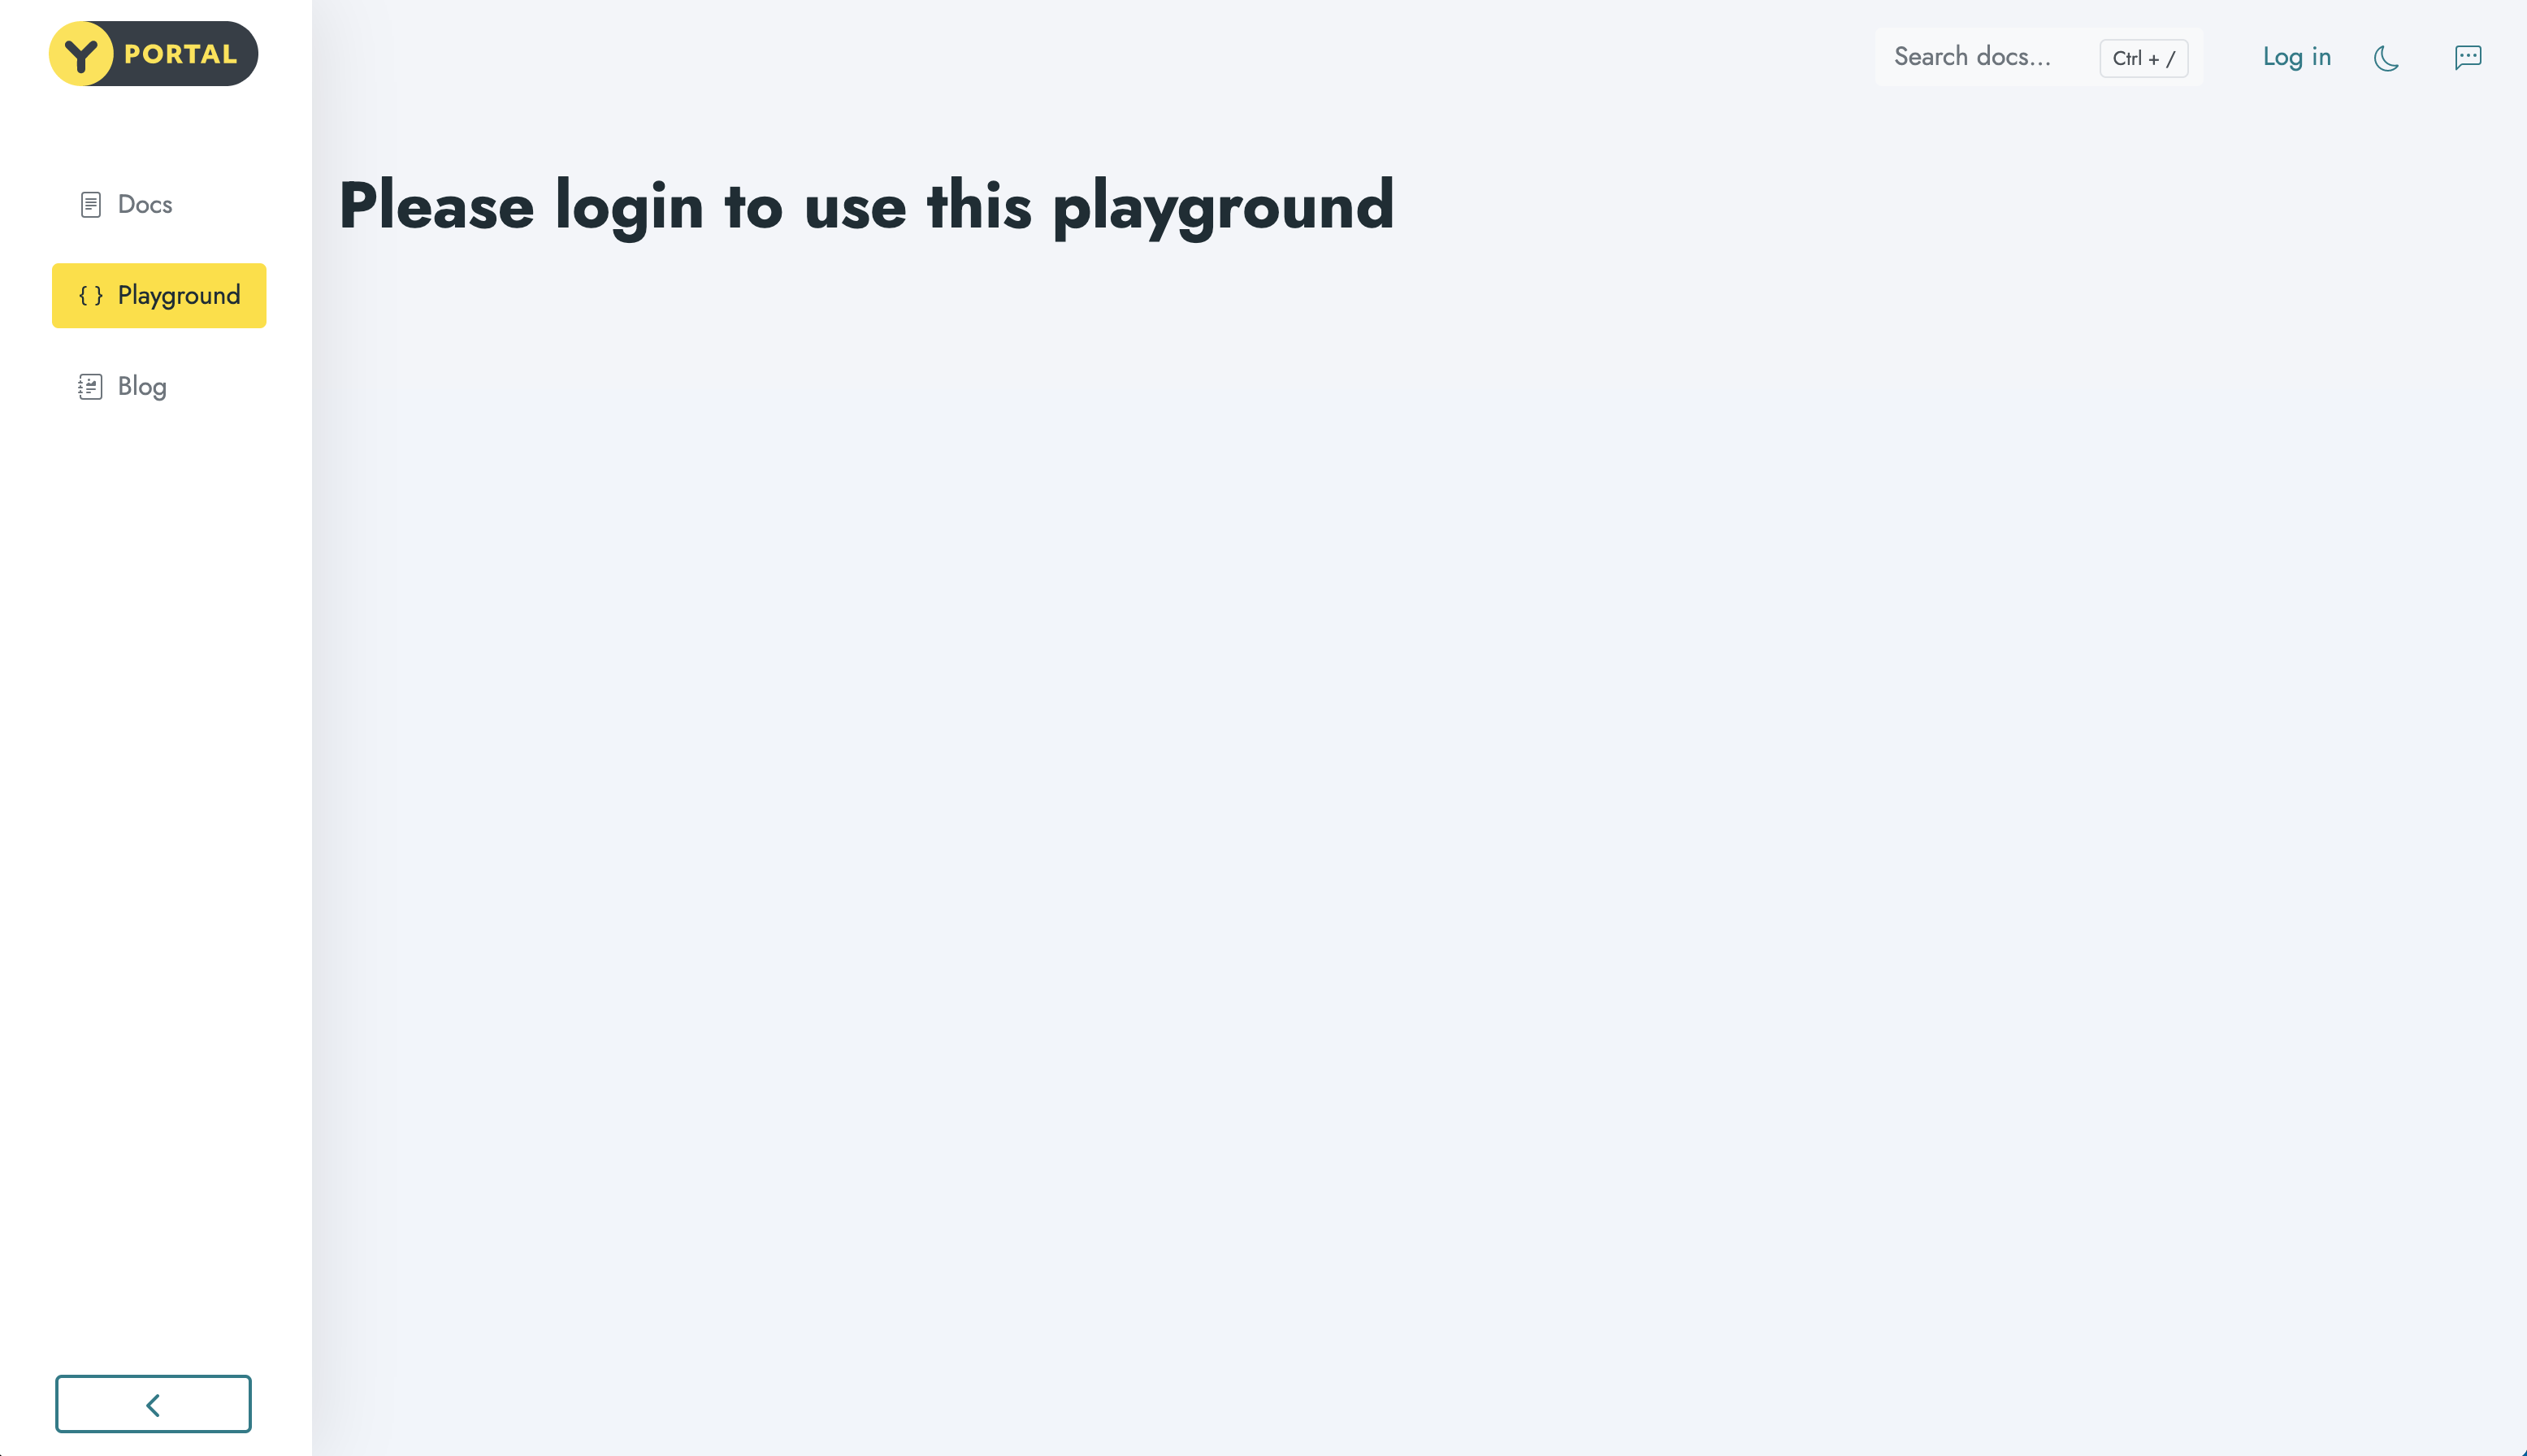
- Query for the Honeywell Integration ID in Yonomi Platform
Next, we’ll look at available integrations. Yonomi establishes authorization to supported devices through an Integration object.
An Integration represents a connection to the 3rd-party cloud which provides APIs to interact with the devices that 3rd party sells and supports. As an example, Yonomi supports integration to the Honeywell cloud, and Honeywell uses their cloud to expose APIs used to interact with the thermostats they sell. The Integration object allows developers to create applications that let end-users programmatically establish an authorization link between their application user and their Honeywell account.
To query available Integrations, remove or rename the existing query in the left-side editor window and then paste the following query in the editor below the health query:
query getAllIntegrations {
|
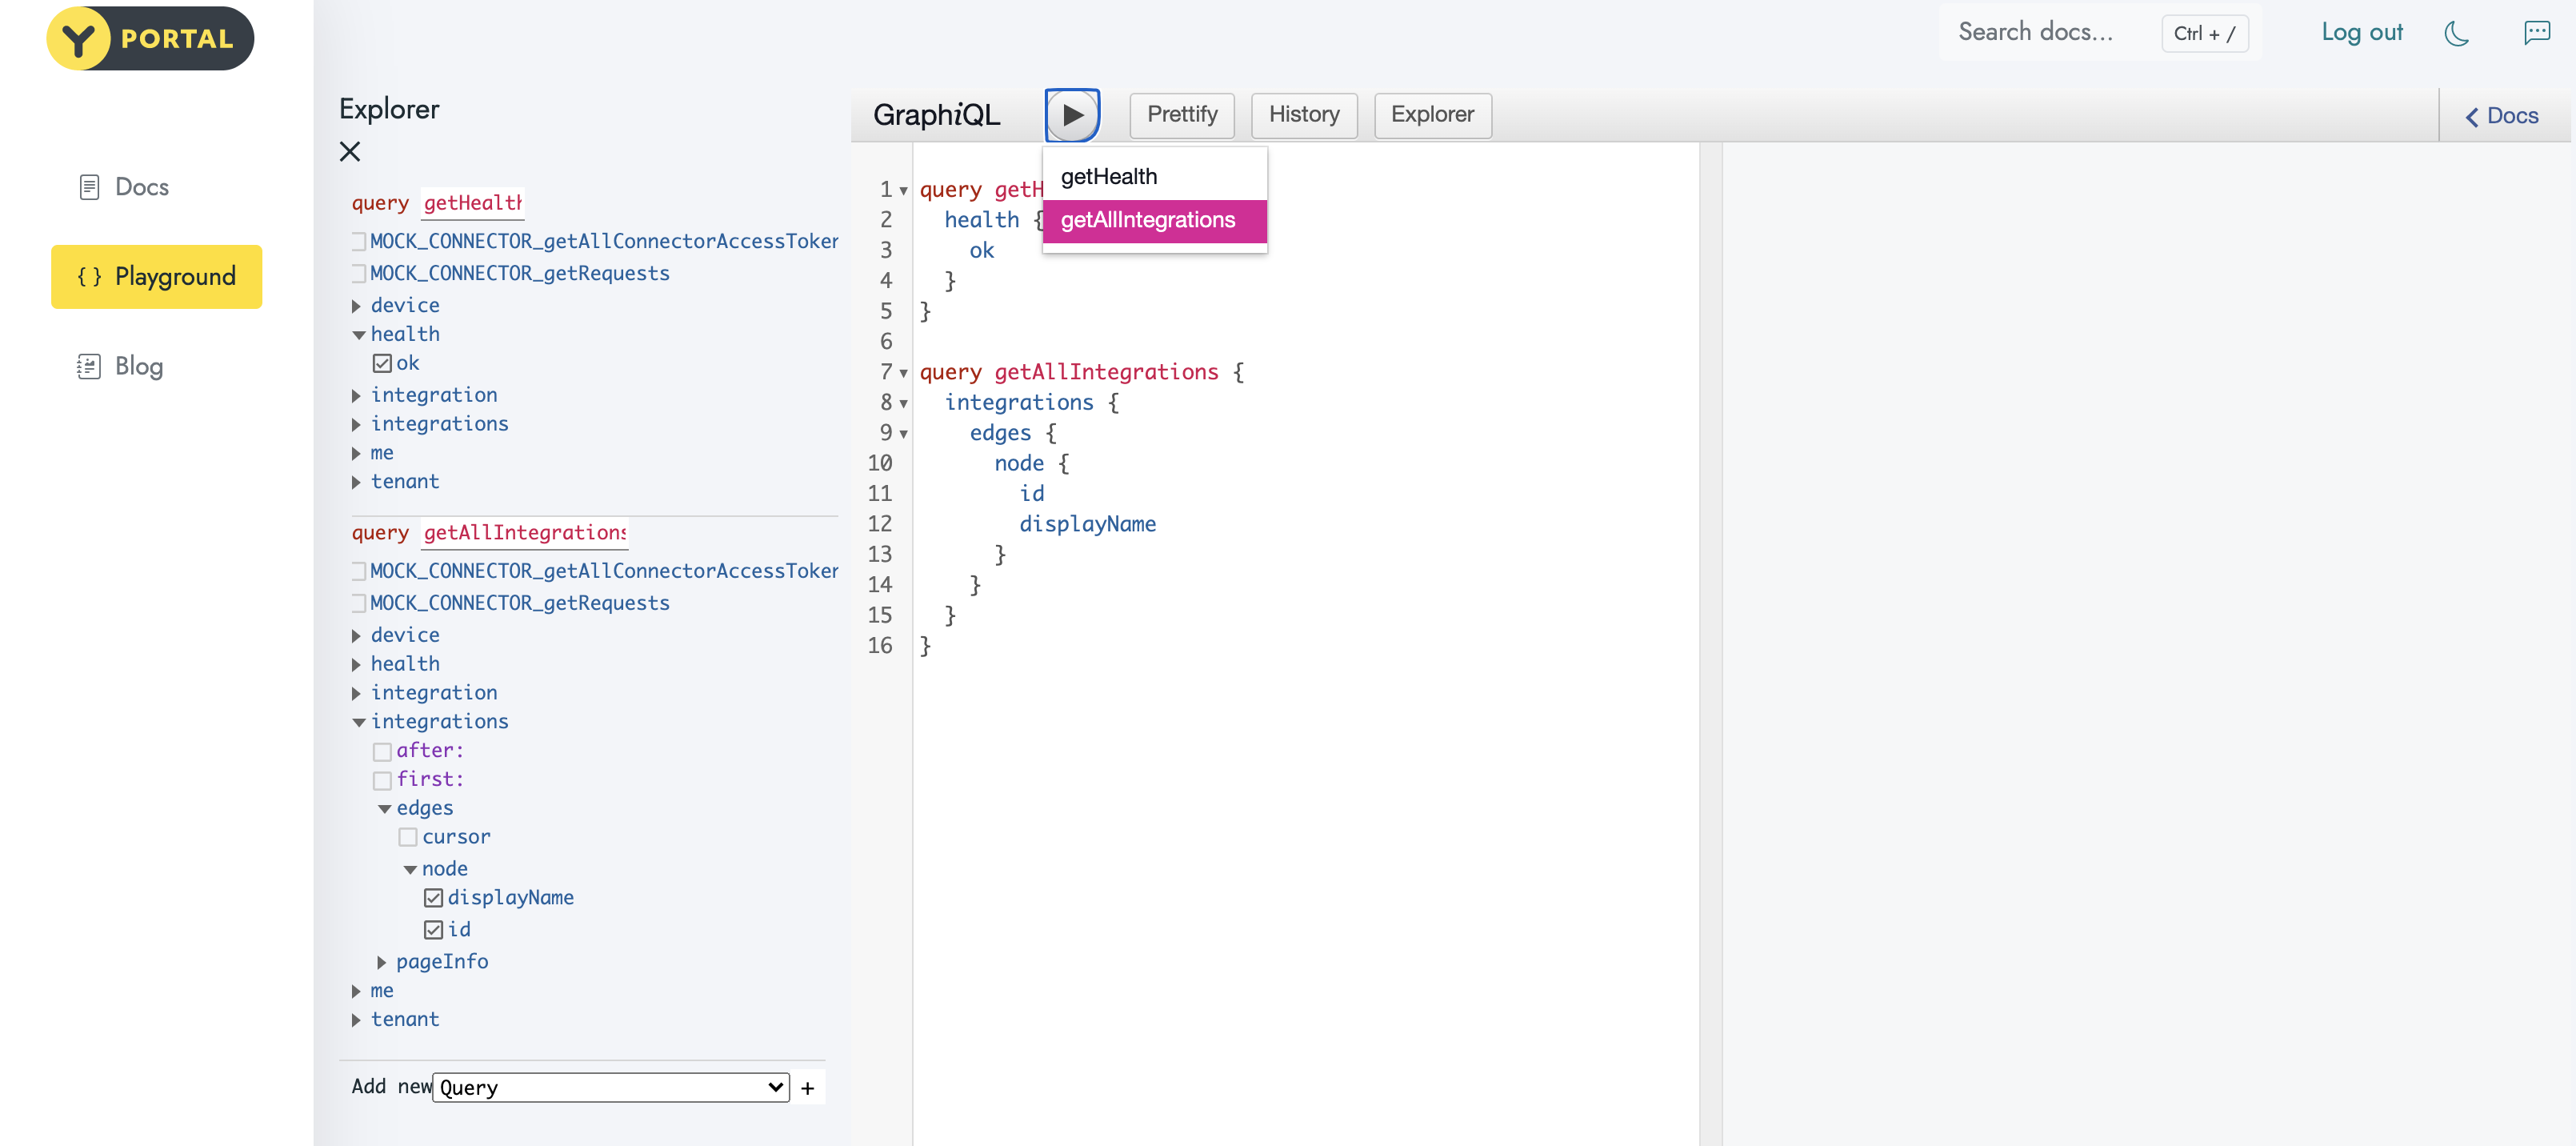
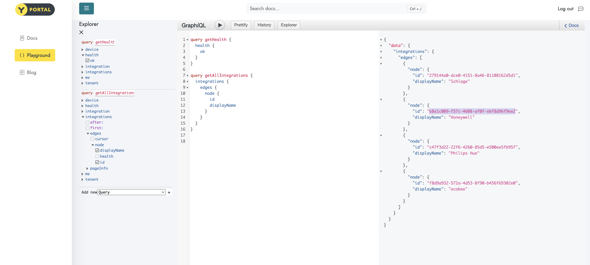
Click the Play button and select getAllIntegrations from the dropdown that appears under the button to execute the GraphQL query. The response is a list of details for all available integrations on the Yonomi Platform, including the Honeywell integrationID which we'll use in the next step.
If you received an error, please be sure you either deleted or renamed the existing anonymous query.
- Create a Honeywell Account Linking URL
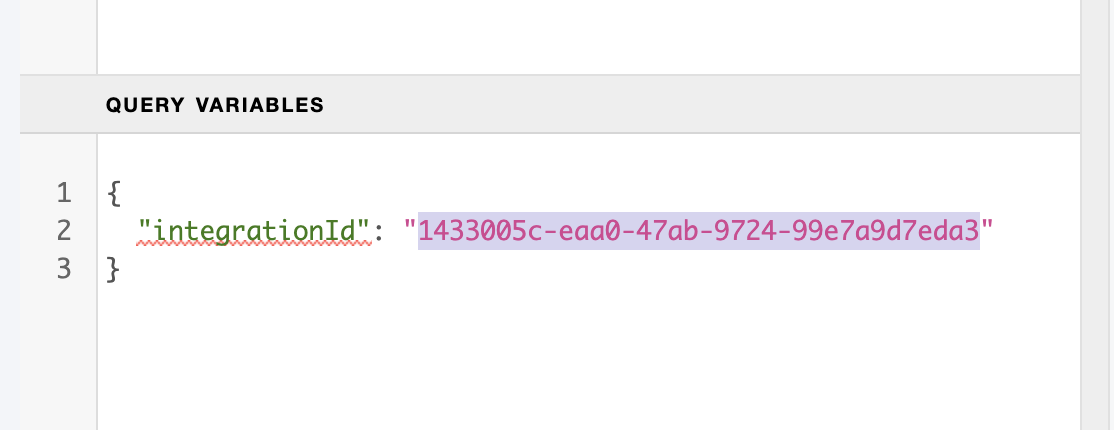
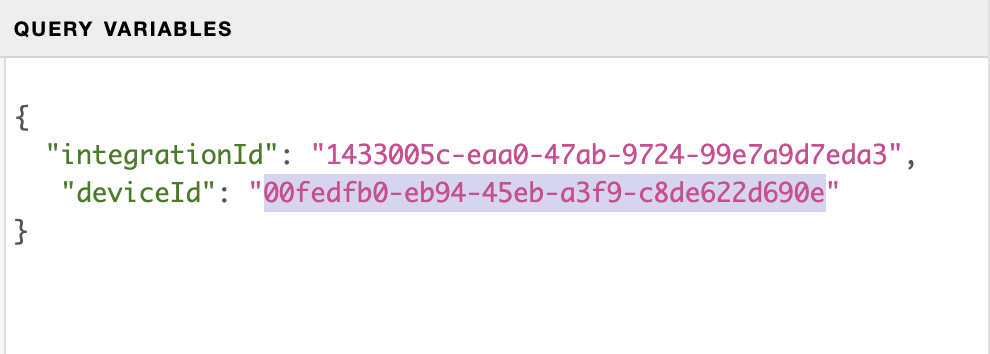
Once you have the Honeywell integrationID you can use it to obtain an account linking URL for a Honeywell account and authorize the Honeywell thermostats (and leak sensors!) associated with that account for API access. Identify the Integration ID for the Honeywell Integration object from the results of the previous call – you’ll populate this value as a query variable.
mutation generateAccountLinkingUrl ($integrationId: ID!) {
|
Notice this mutation uses a query variable called integrationId that we’ll need to populate. Scroll down to the Query Variables area at the bottom of the Editor window area. You may need to grab and drag the Query variable pane up to access it. Once accessible, paste the following:
{
|
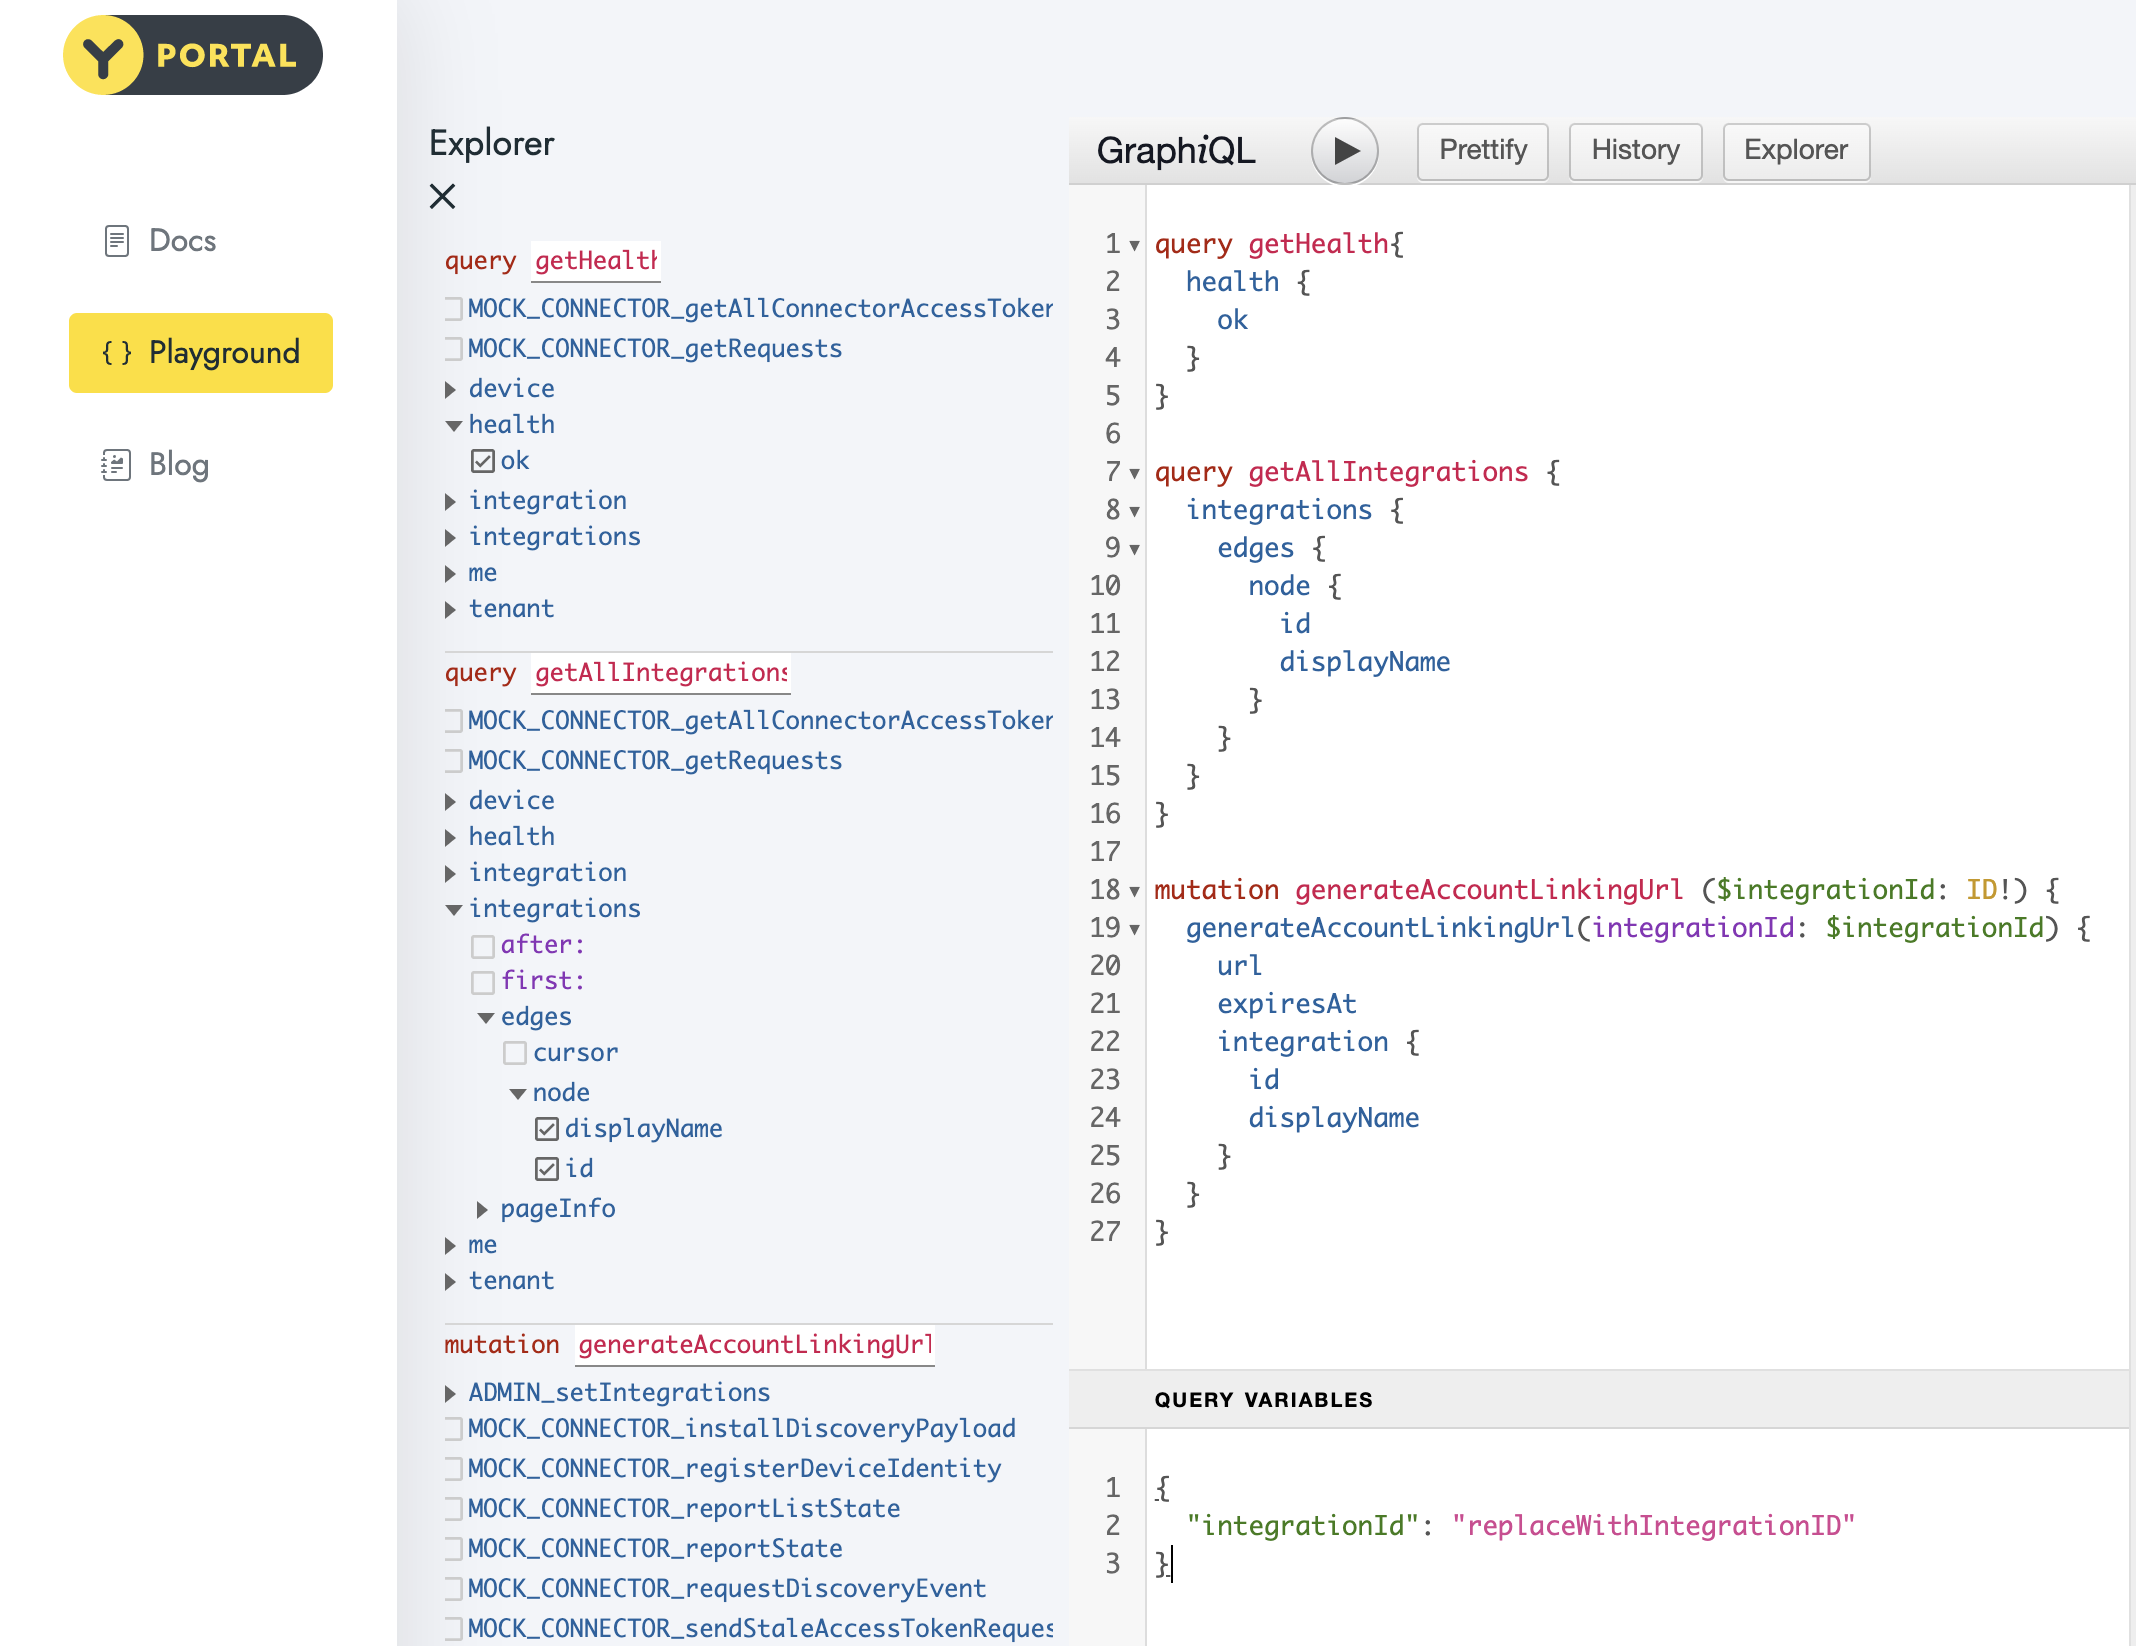
Copy the integrationID of the Honeywell Integration object from the previous call and paste it as the value of the integrationId variable, replacing the existing value (replaceWithHoneywellIntegrationID):
Click the Play button and select the generateAccountLinkingUrl mutation to run that call. The response will be a payload that includes a long URL – this is the Account Linking URL for a Honeywell account.
- Authorize the Honeywell Account
Next, we’ll authorize a Honeywell account. Copy the URL, paste it into a new browser tab and run it.
The token used in this request has an expiration timeframe of only 120 seconds, so you’ll need to work fast at this step, copying the URL and pasting it into a browser within 2 minutes.
You should see the browser load a page with instructions to log in to your Honeywell account. Also notice here that the browser URL shows you have been redirected to a Honeywell site, not a Yonomi site. This is the redirect mentioned in step 3 of the flow above.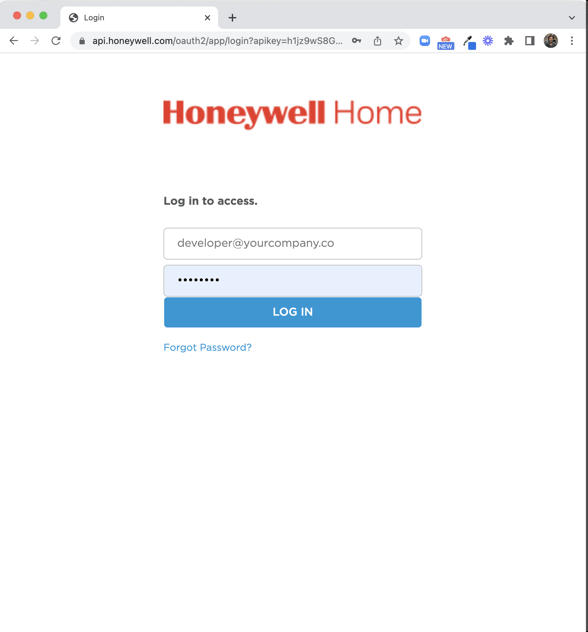
Enter your Honeywell account details and click the Sign In button to log in. Upon successful login Honeywell will present a screen confirming your request to authorize Yonomi access to devices. (Also note that Honeywell uses the "Resideo" brand name interchangeably here.)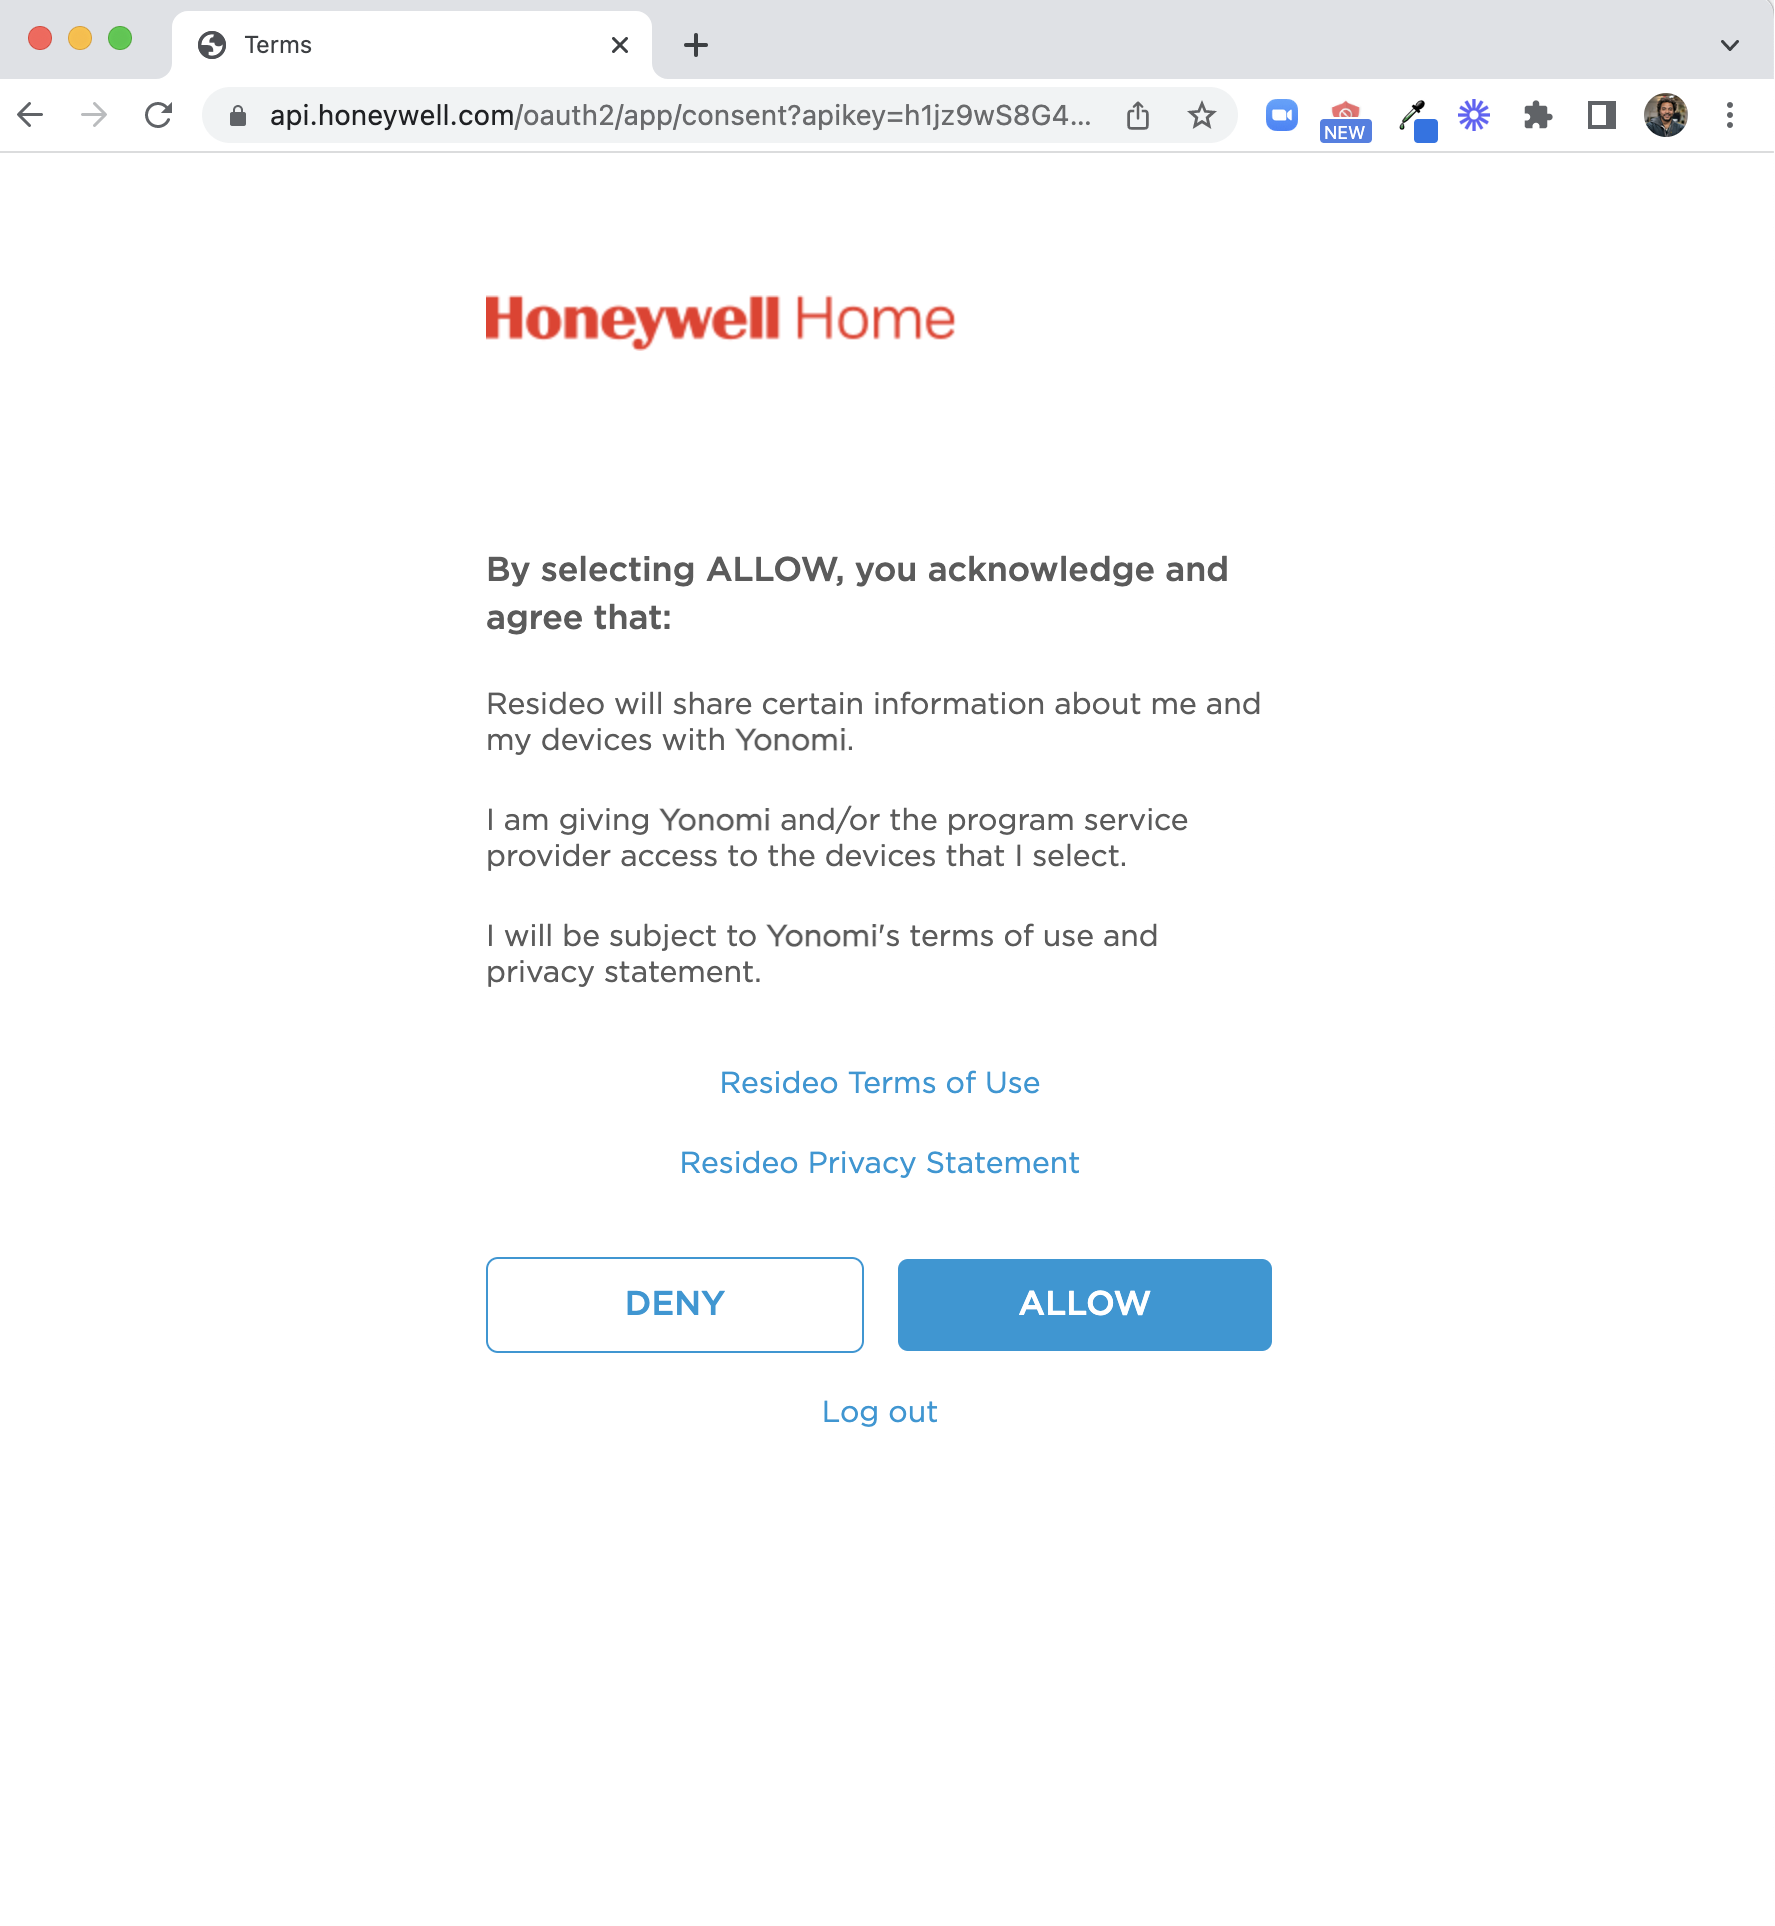
Upon clicking the "Allow" button, you'll then be directed to a screen where you can select which devices associated with this account should be granted access through Yonomi's API. Yonomi supports all T-model brands of wifi thermostat accessible from the Honeywell Home API along with the Honeywell Leak and Freeze Sensor, so depending on devices on the account you'll see one or more devices in this list.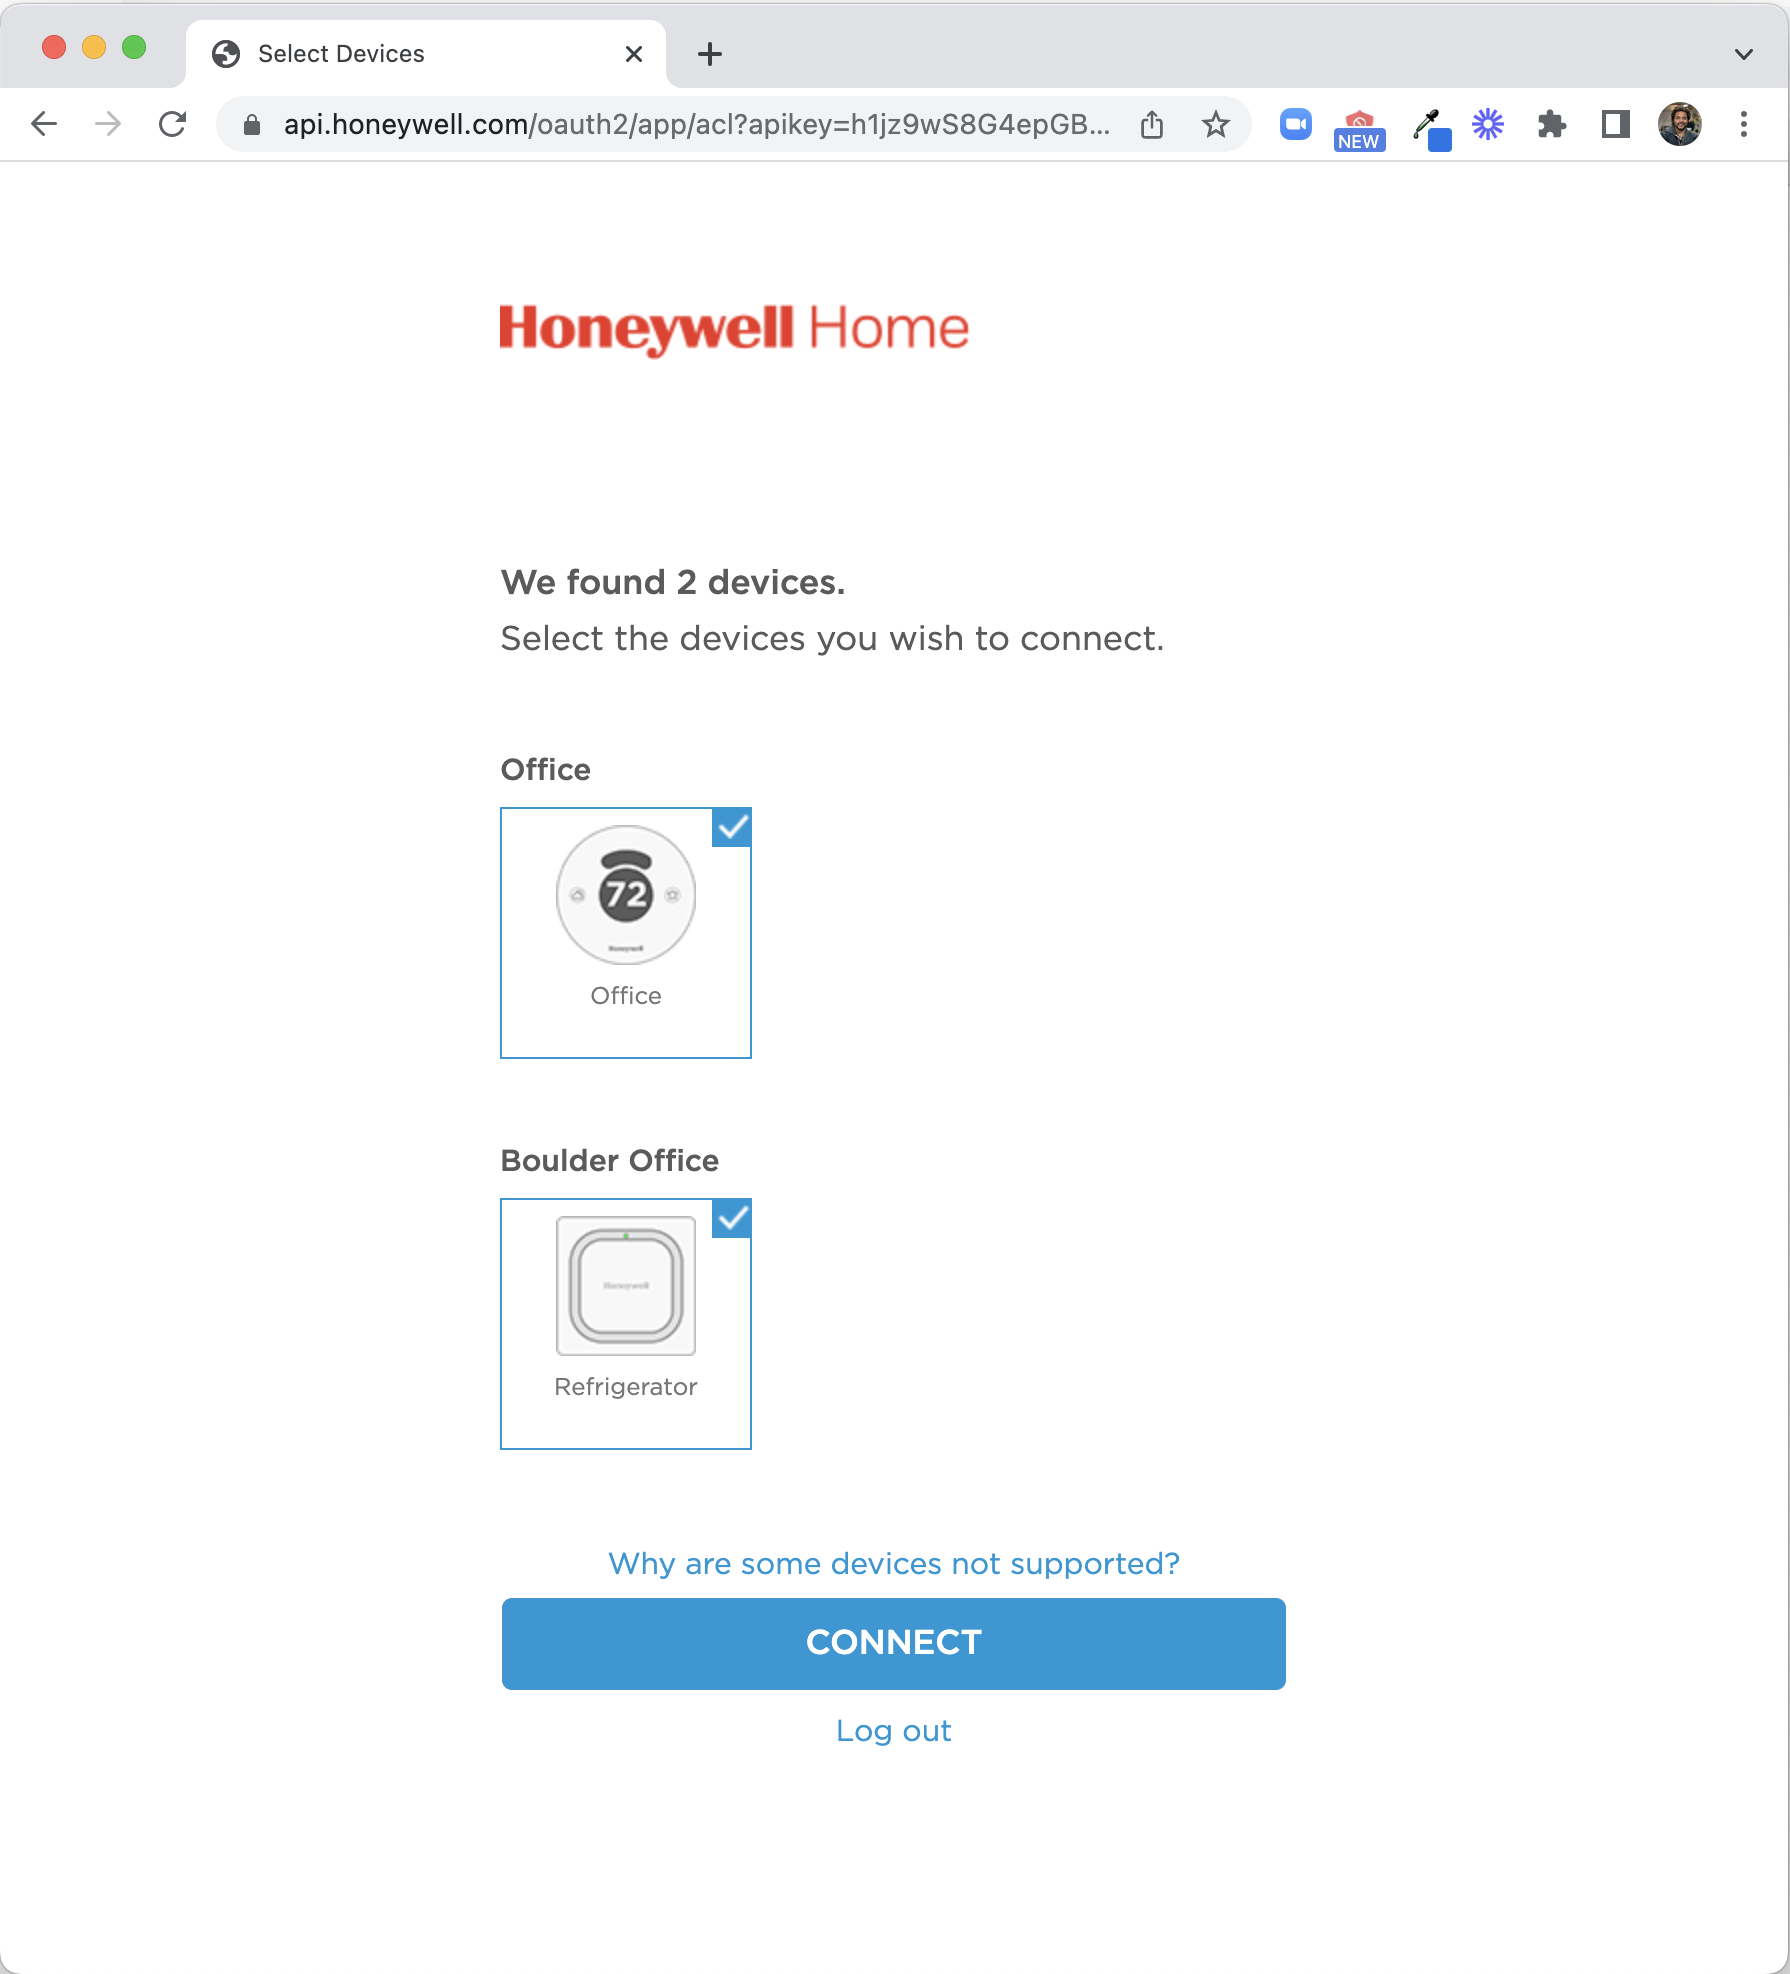
Check or uncheck whichever devices you'd like accessible through Yonomi's API.
Upon clicking the "Connect" button, you'll be redirected back to a Yonomi URL, where you’ll be greeted with a Success message; if you’ve established a Callback URL with Yonomi then instead you’ll be redirected to the callback URL so your application can seamlessly pick up from Yonomi in the process.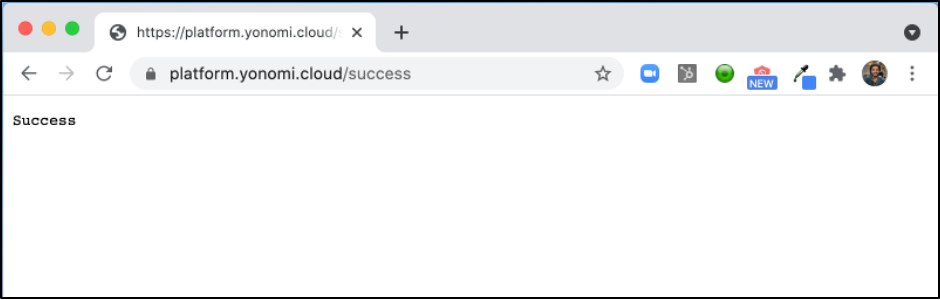
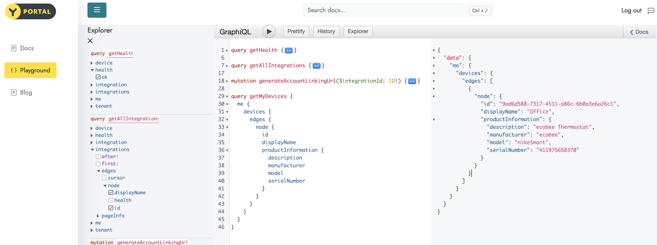
At this point, a LinkedAccount and one or more Device objects have been added to the user’s Yonomi Platform account. - View linked devices
Once the Linked Account was authorized and added, any thermostats (or leak sensors) associated with that account were also added. To see available devices, paste and run the following query:
query getMyDevices {
|
Notice the Device ID (id) in the response – we’ll need to use this for the next step. You’ll find the device ID as the first id variable under each node object in the response (per the GraphQL query above).
- Run Device Actions – Change thermostat mode
We’re now ready to control our thermostat. We’ll start by changing the mode. Be sure your thermostat is in Off mode or at least in a different mode than you intend to set it.
Paste the following mutation in the editor:
mutation makeSetThermostatModeRequest ($deviceId: ID!) {
|
Next, copy the thermostat's DeviceID from the getMyDevices query response in the previous step. Open the Query Variables pop-up window and add the following variable, replacing replaceWithDeviceID with your copied DeviceID:
"deviceId": "replaceWithDeviceID"
|
Be sure to include commas between variable definitions.
Click the play button and select the makeModeChangeRequest request from the list to execute it. Your thermostat should change from current mode to Off mode. To change the thermostat to Cool or Heat mode, simply change the mode variable of the makeModeChangeRequest mutation from OFF to COOL or HEAT.
Congratulations - you've just controlled your Honeywell smart thermostat via API using Yonomi Platform - and hopefully, it was easier than you expected. :)
Yonomi’s API provides support not only for Honeywell Smart Thermostats and Leak Sensors but for many other smart home devices, including ecobee thermostats, Schlage Locks, TP-Link and Philips lights, and much more.
To dig into the API to learn how to obtain thermostat state and change temperature browse to our developer site at https://developers.yonomi.com.
Want to speak to a human? Follow this link to schedule a half-hour strategy session. We'd like to understand your business needs and see how we can support you.
